In what is apparently now a series, here’s another “Towerspotting” post. This time I traveled to Mt. Uncanoonuc in Goffstown, NH. (Months ago, actually.)

]2Mt. Uncanoonuc from drone
There are actually two Uncanoonucs, South Uncanoonuc and North Uncanoonuc. South Uncanoonuc, actually the shorter of the two (by 3 feet), stands at 1,321 feet. It is suggested that the word “uncanoonuc” may be from the the Massachusett word for “breast.”
Just a short bit outside of Manchester, the 1,321-foot summit has a height above average terrain (HAAT) of about 250 meters, or 820 feet, which perhaps explains why it’s home to much of the southern NH TV and radio stations.
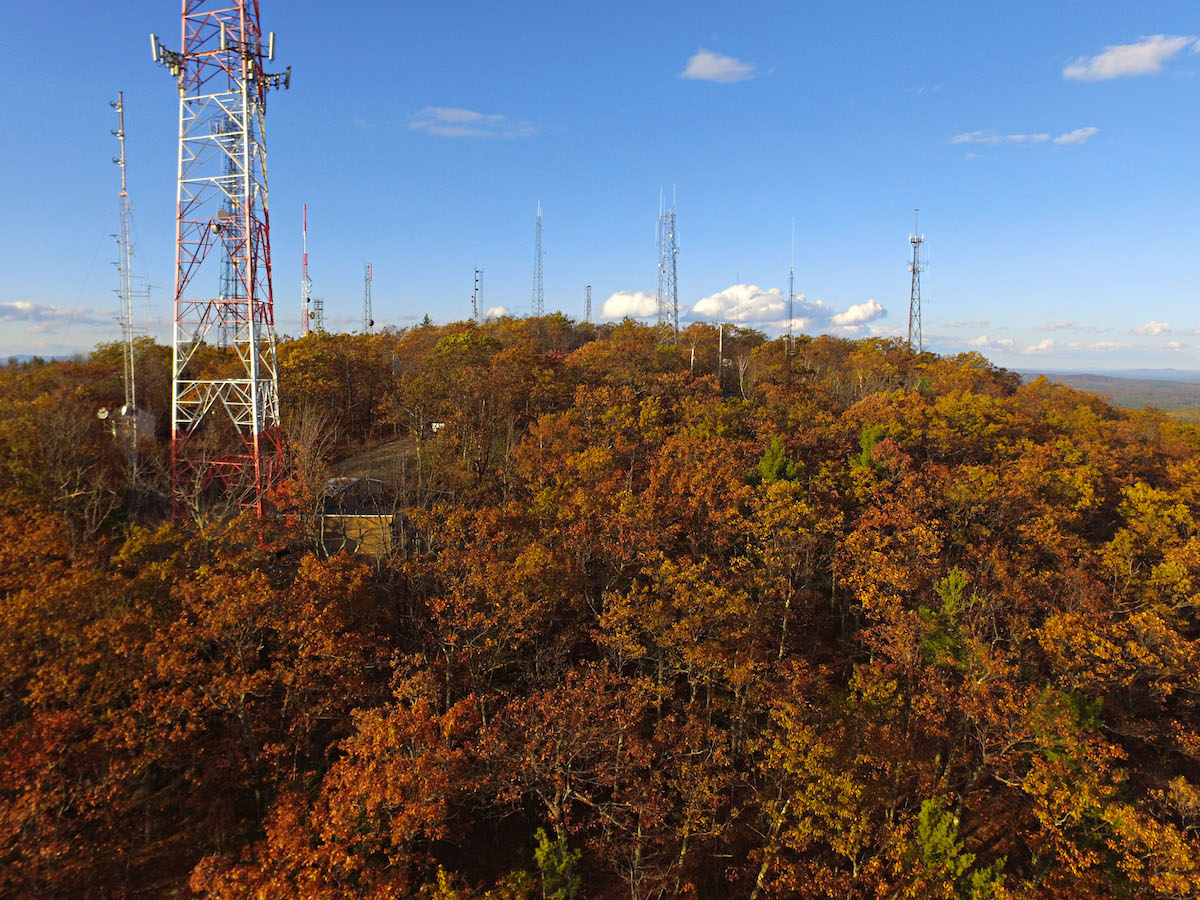
The contents of the mountain are perhaps better revealed by a lower shot from when I took my drone up there earlier this fall:

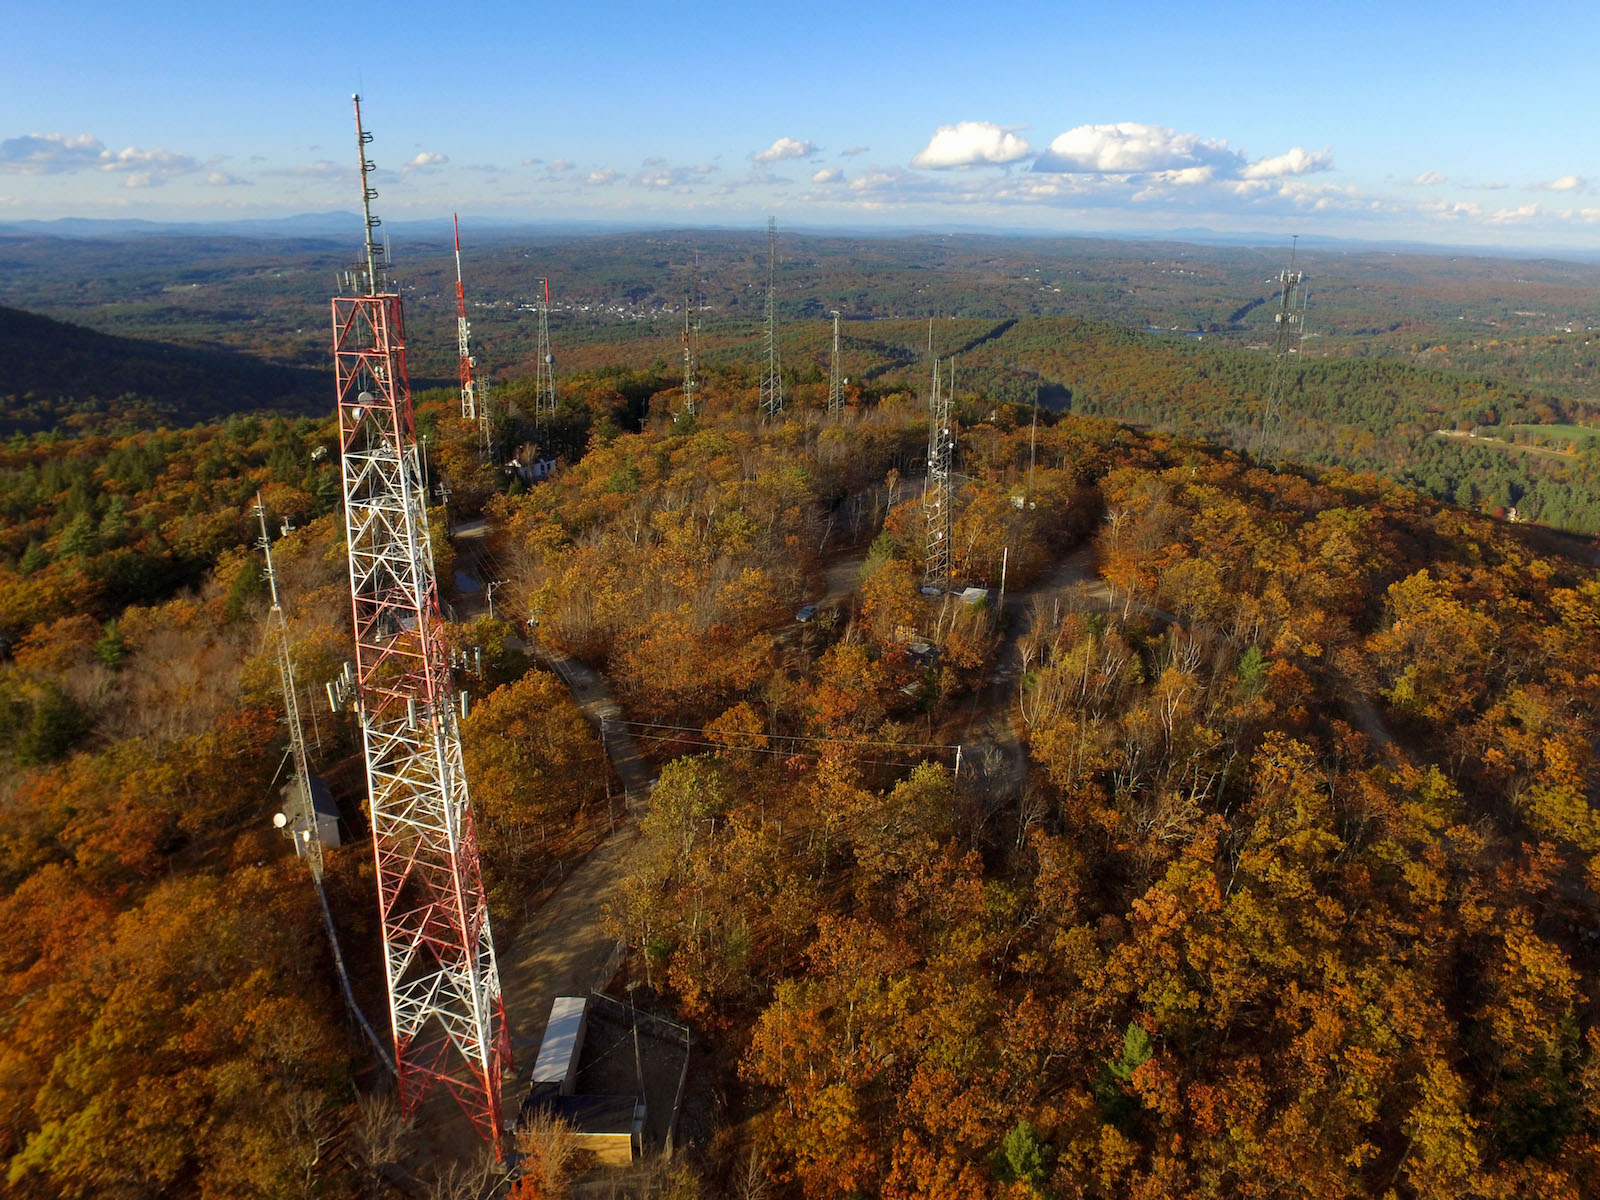
]4Mt. Uncanoonuc towers
From left, we’re seeing:
- WGIR-FM’s old tower, now used for backup
- A tall Crown-Castle tower (red and white), home to WGIR-FM’s primary antenna system (out of frame; some cellular stuff is all you can see in this shot)
- Immediately behind it and barely visible, a self-supporter that I think is owned by SBA; home to cellular, microwave, some some land-mobile stuff
- WMUR-TV’s antenna and tower, also red and white.
- An abandoned (?) tower, comparatively quite short
- WMUR-TV’s old antenna/tower from the analog-to-DTV cutover; a microwave dish is mounted much lower
- WZID-FM’s tower; the 3 lumps on the side are their FM bays, with the two smaller red ones on the side being their backup antenna (I think).
- Just to the right of it, almost overlapping, is a commercial land-mobile tower
- Dead center, another commercial land-mobile tower. This looks to be one of the taller sites, over 200 feet, but I’m not sure it actually has an ASR on file ???
- To the right, the diminutive-looking WNEU-TV tower that’s actually cranking out 80 kW, the most powerful station up there by far.
- A wide self-supporter that I believe is owned by the Town of Goffstown. There may be another land-mobile tower directly behind it; not sure
- A very short tower with a few VHF fiberglass whips. The site is on a very small concrete pad and houses a doghouse-sized enclosure that is literally falling apart. Town records have it appraised at six figures.
- At far-right, an Industrial Communications tower, which looks to be home to cellular and land-mobile stuff.
I’m about 95% sure on those. Corrections welcome!
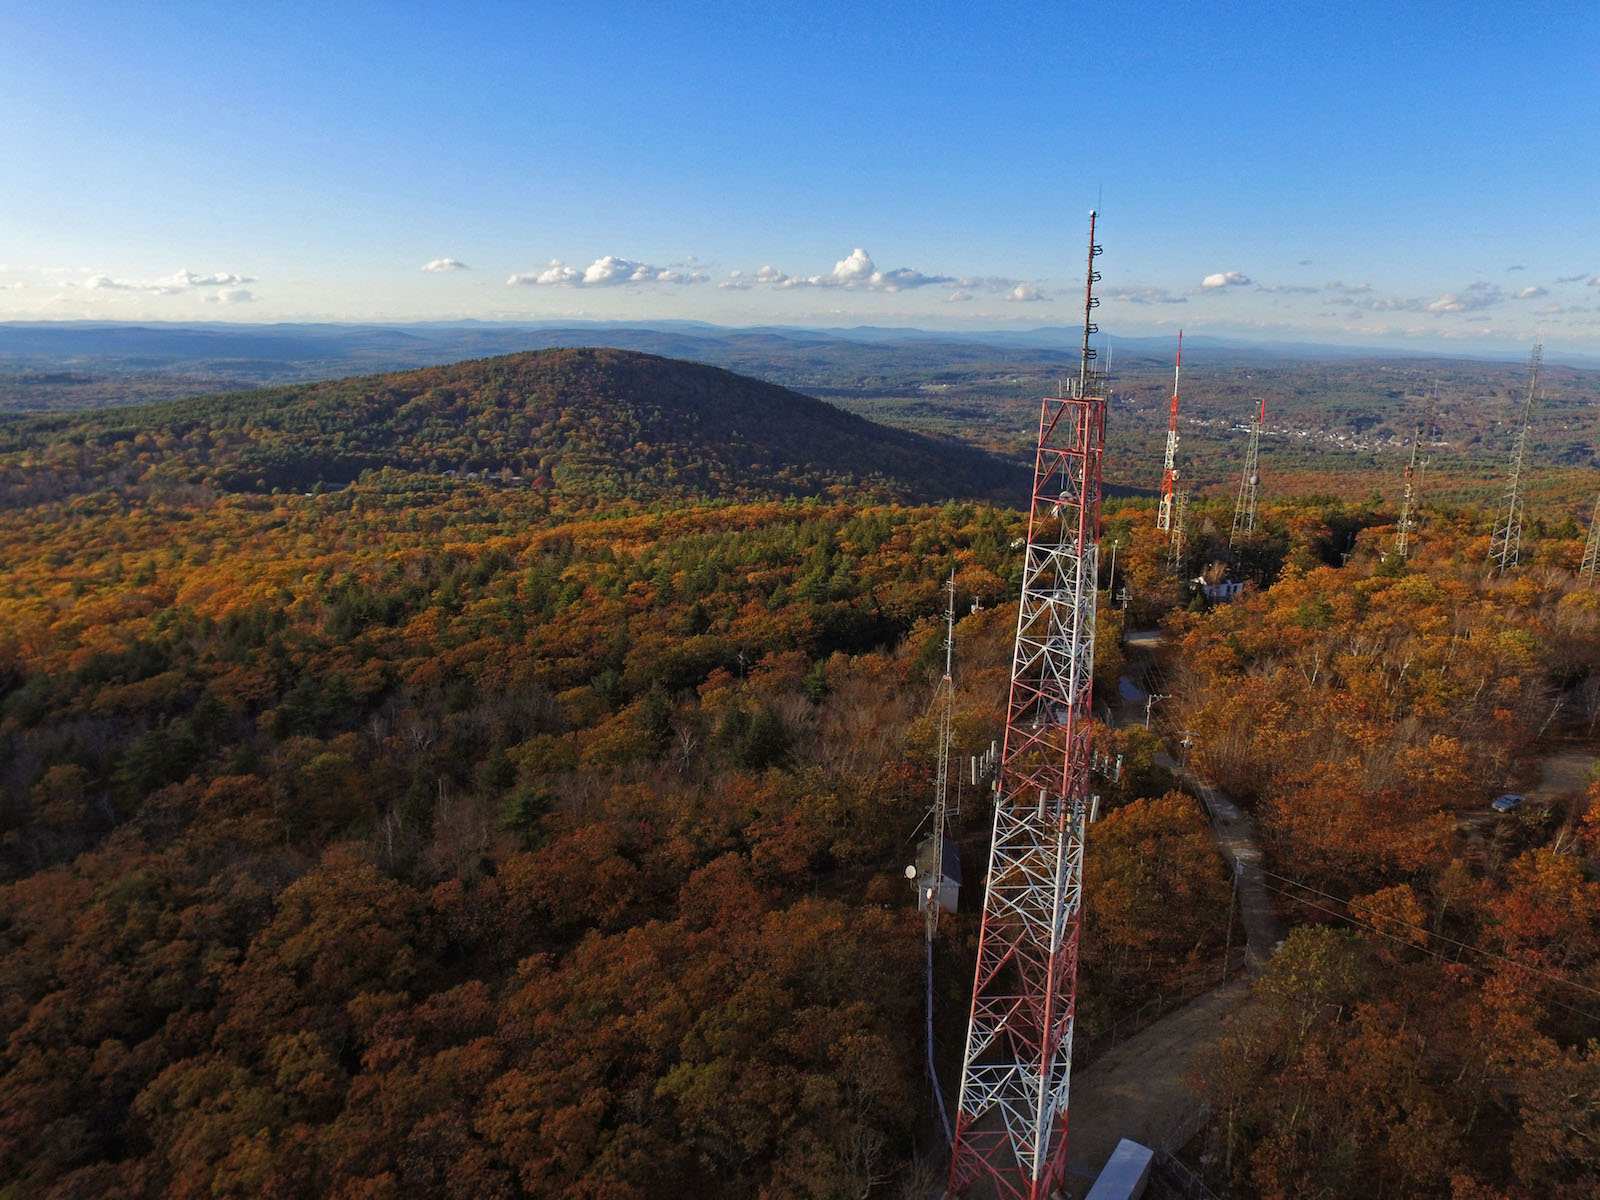
Here’s another view, showing a few of the towers and looking over to North Uncanoonuc:

]6 North Uncanoonuc, viewed from South Uncanoonuc
Here is WZID’s tower:
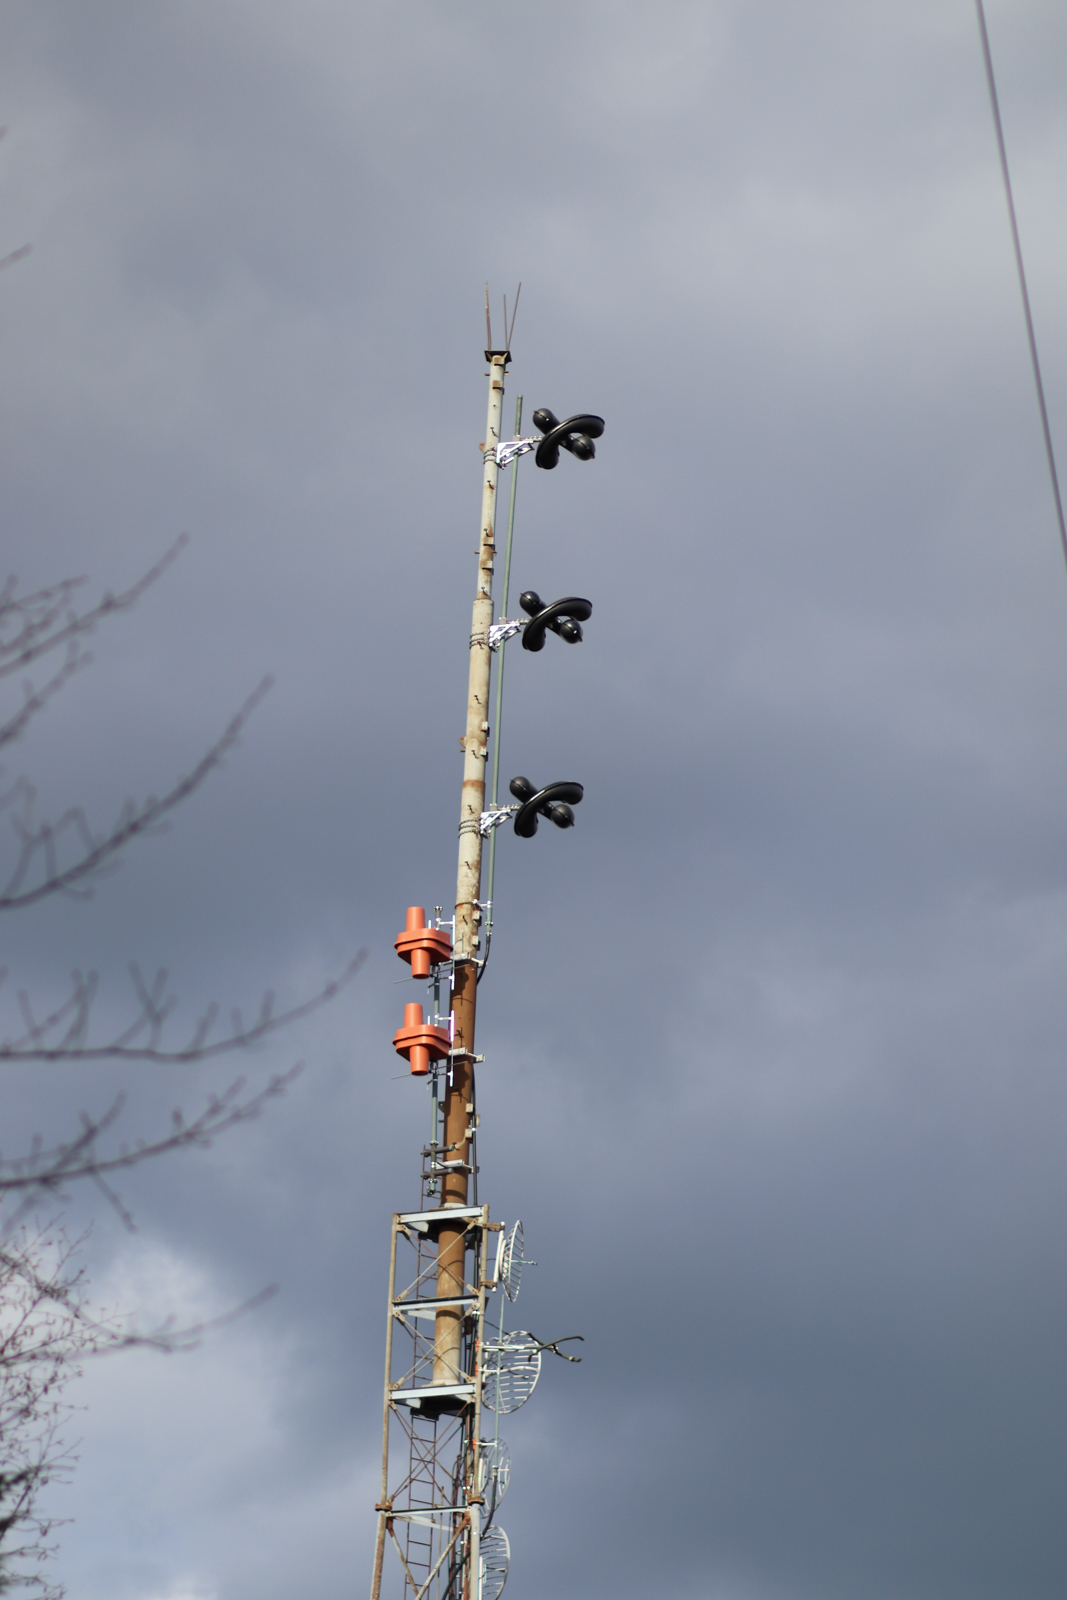
(It’s far more likely that my camera was a little crooked than the tower having a lean…) The structures at the very top are simply lightning rods/dissipators. I’m not totally clear what’s up there, but I suspect that the 3 bays at top are their primary antenna system, with the two smaller ones on the left being a backup. The antennas are cross-polarized, to serve listeners whether their antennas are horizontal or vertical, and consequentially look a bit strange compared to your average antenna.
The round dishes are most likely 900 MHz studio-transmitter link antennas, feeding the broadcast audio.
WZID is licensed for 14.5 kW on 95.7, though FMpower suggests that this is probably maximum power for a Class B station based on HAAT.
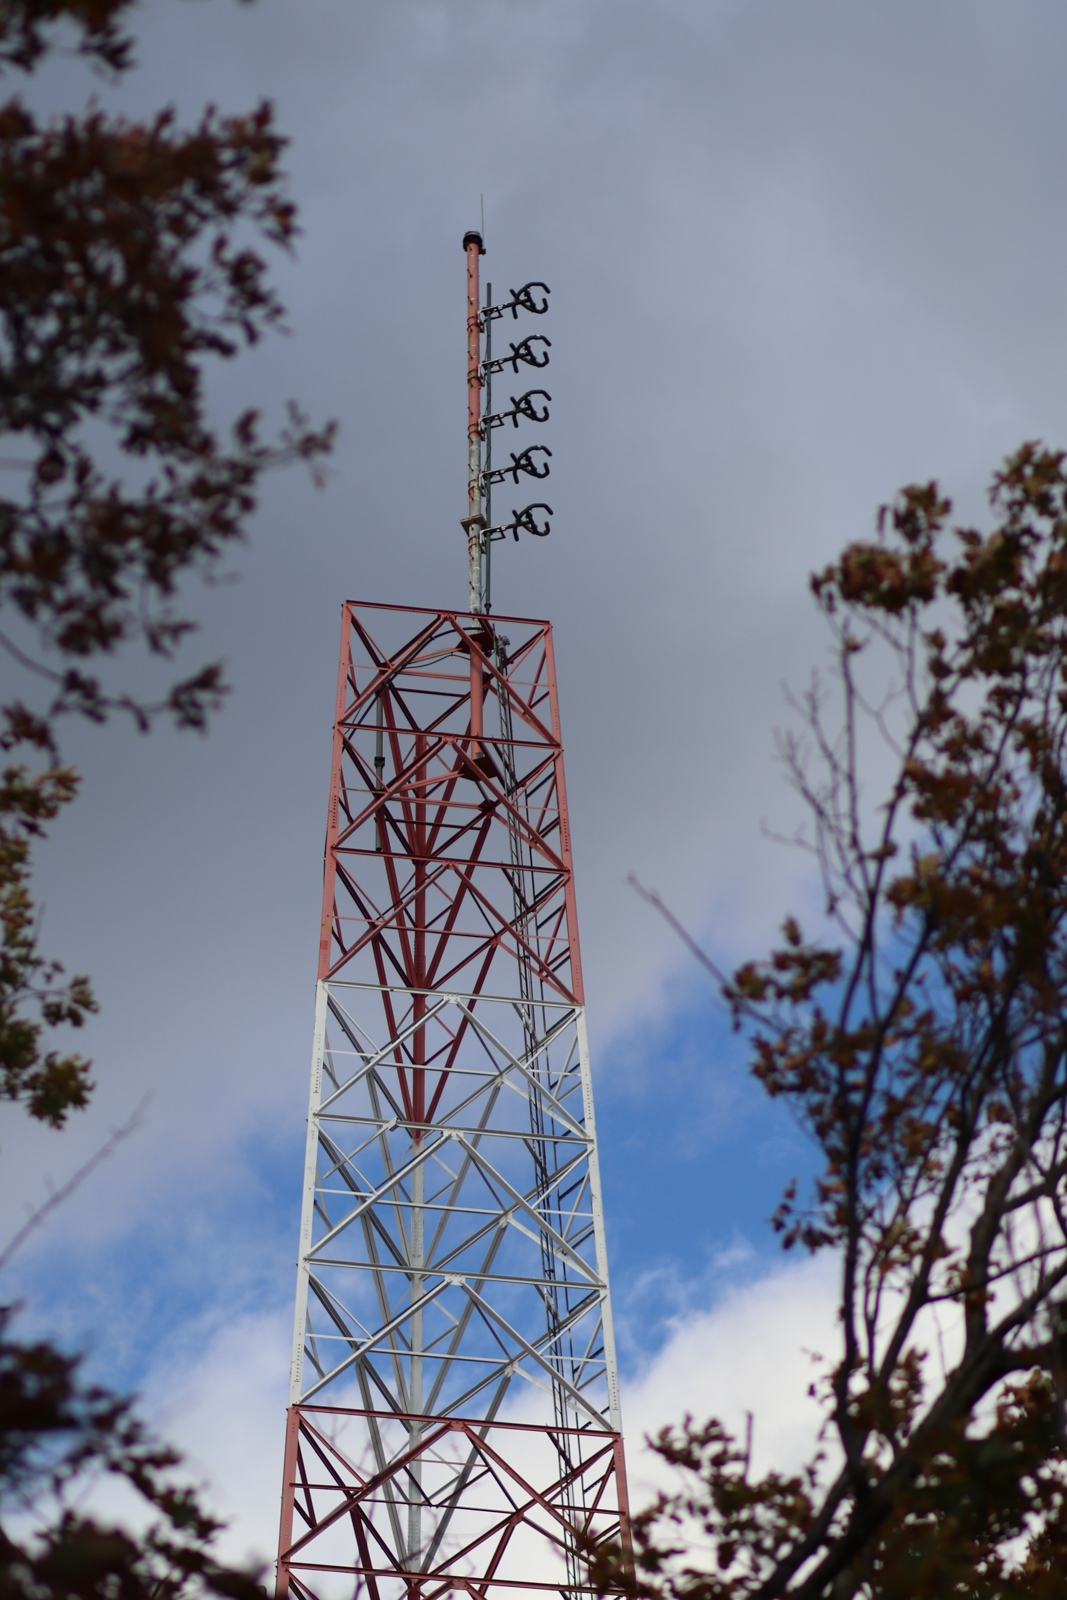
And here’s WNEU-TV, a Univision station:
Walking around the top of the hill, each tower is surrounded by a barbed-wire or razor-wire fence, and also contains a transmitter building. WNEU’s is one of the only ones that makes a lot of noise, with a substantial HVAC system with giant fans. It made sense when I started looking up licenses, and found that they’re licensed for 80 kW output.
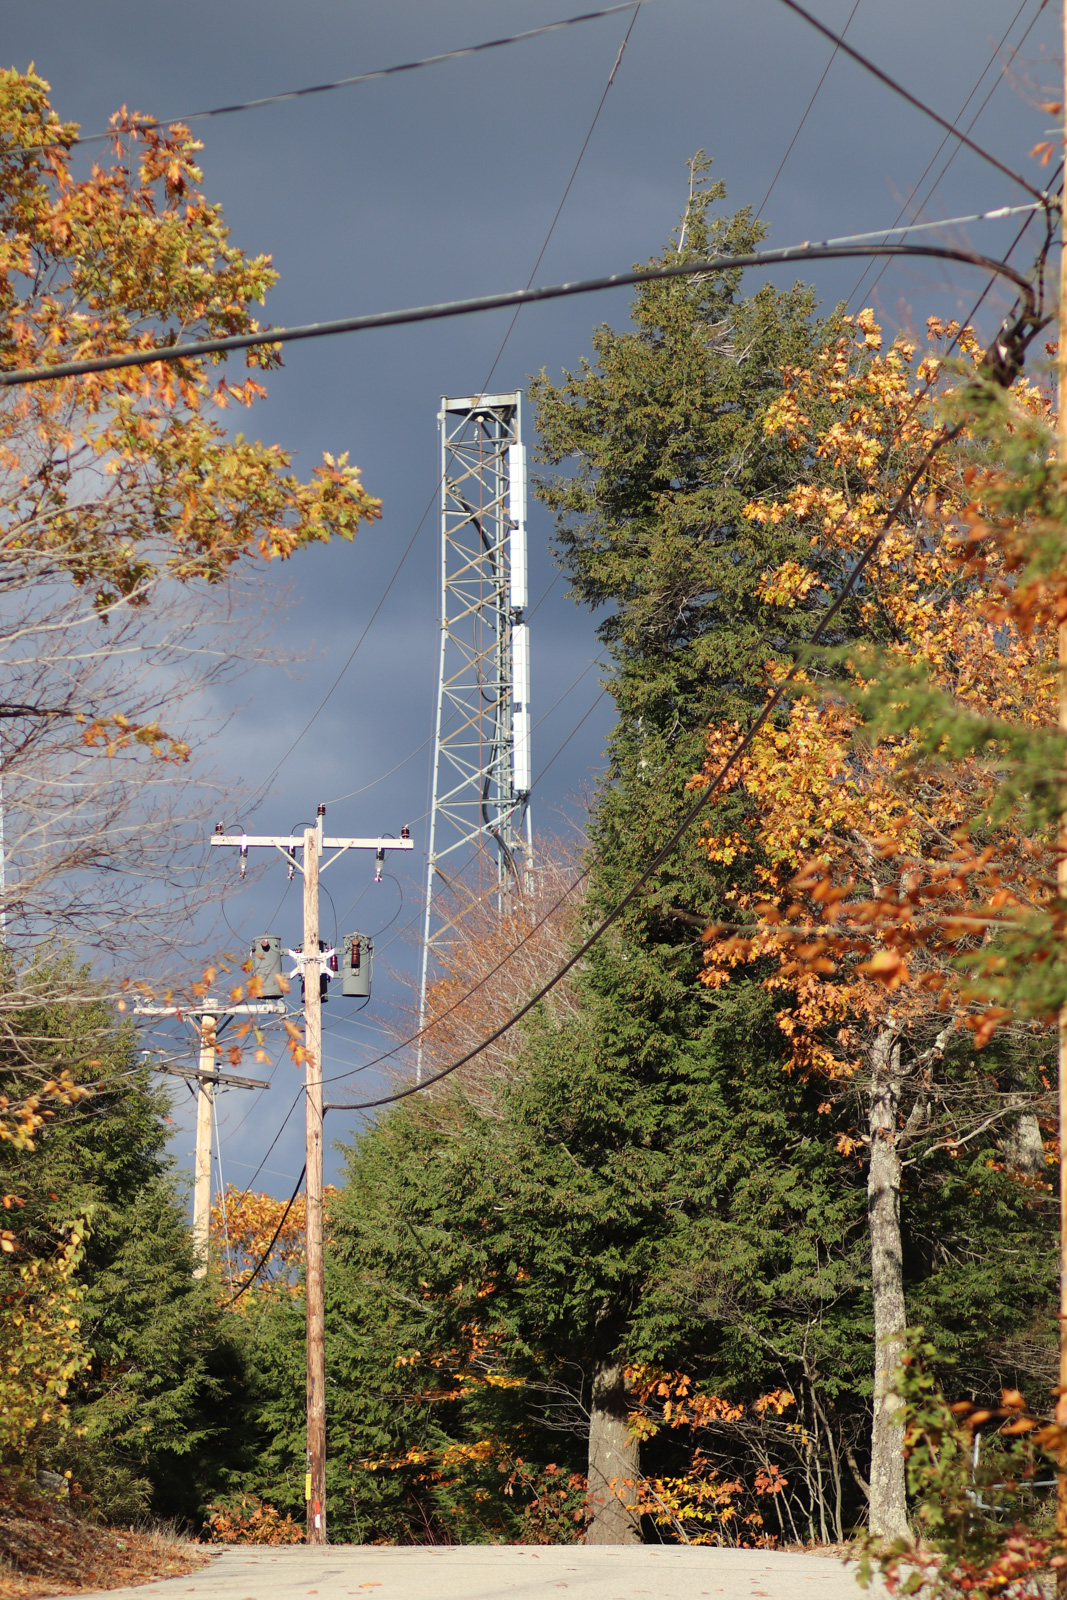
For comparison, here’s WMUR-TV:
They’re licensed for 6.5 kW.
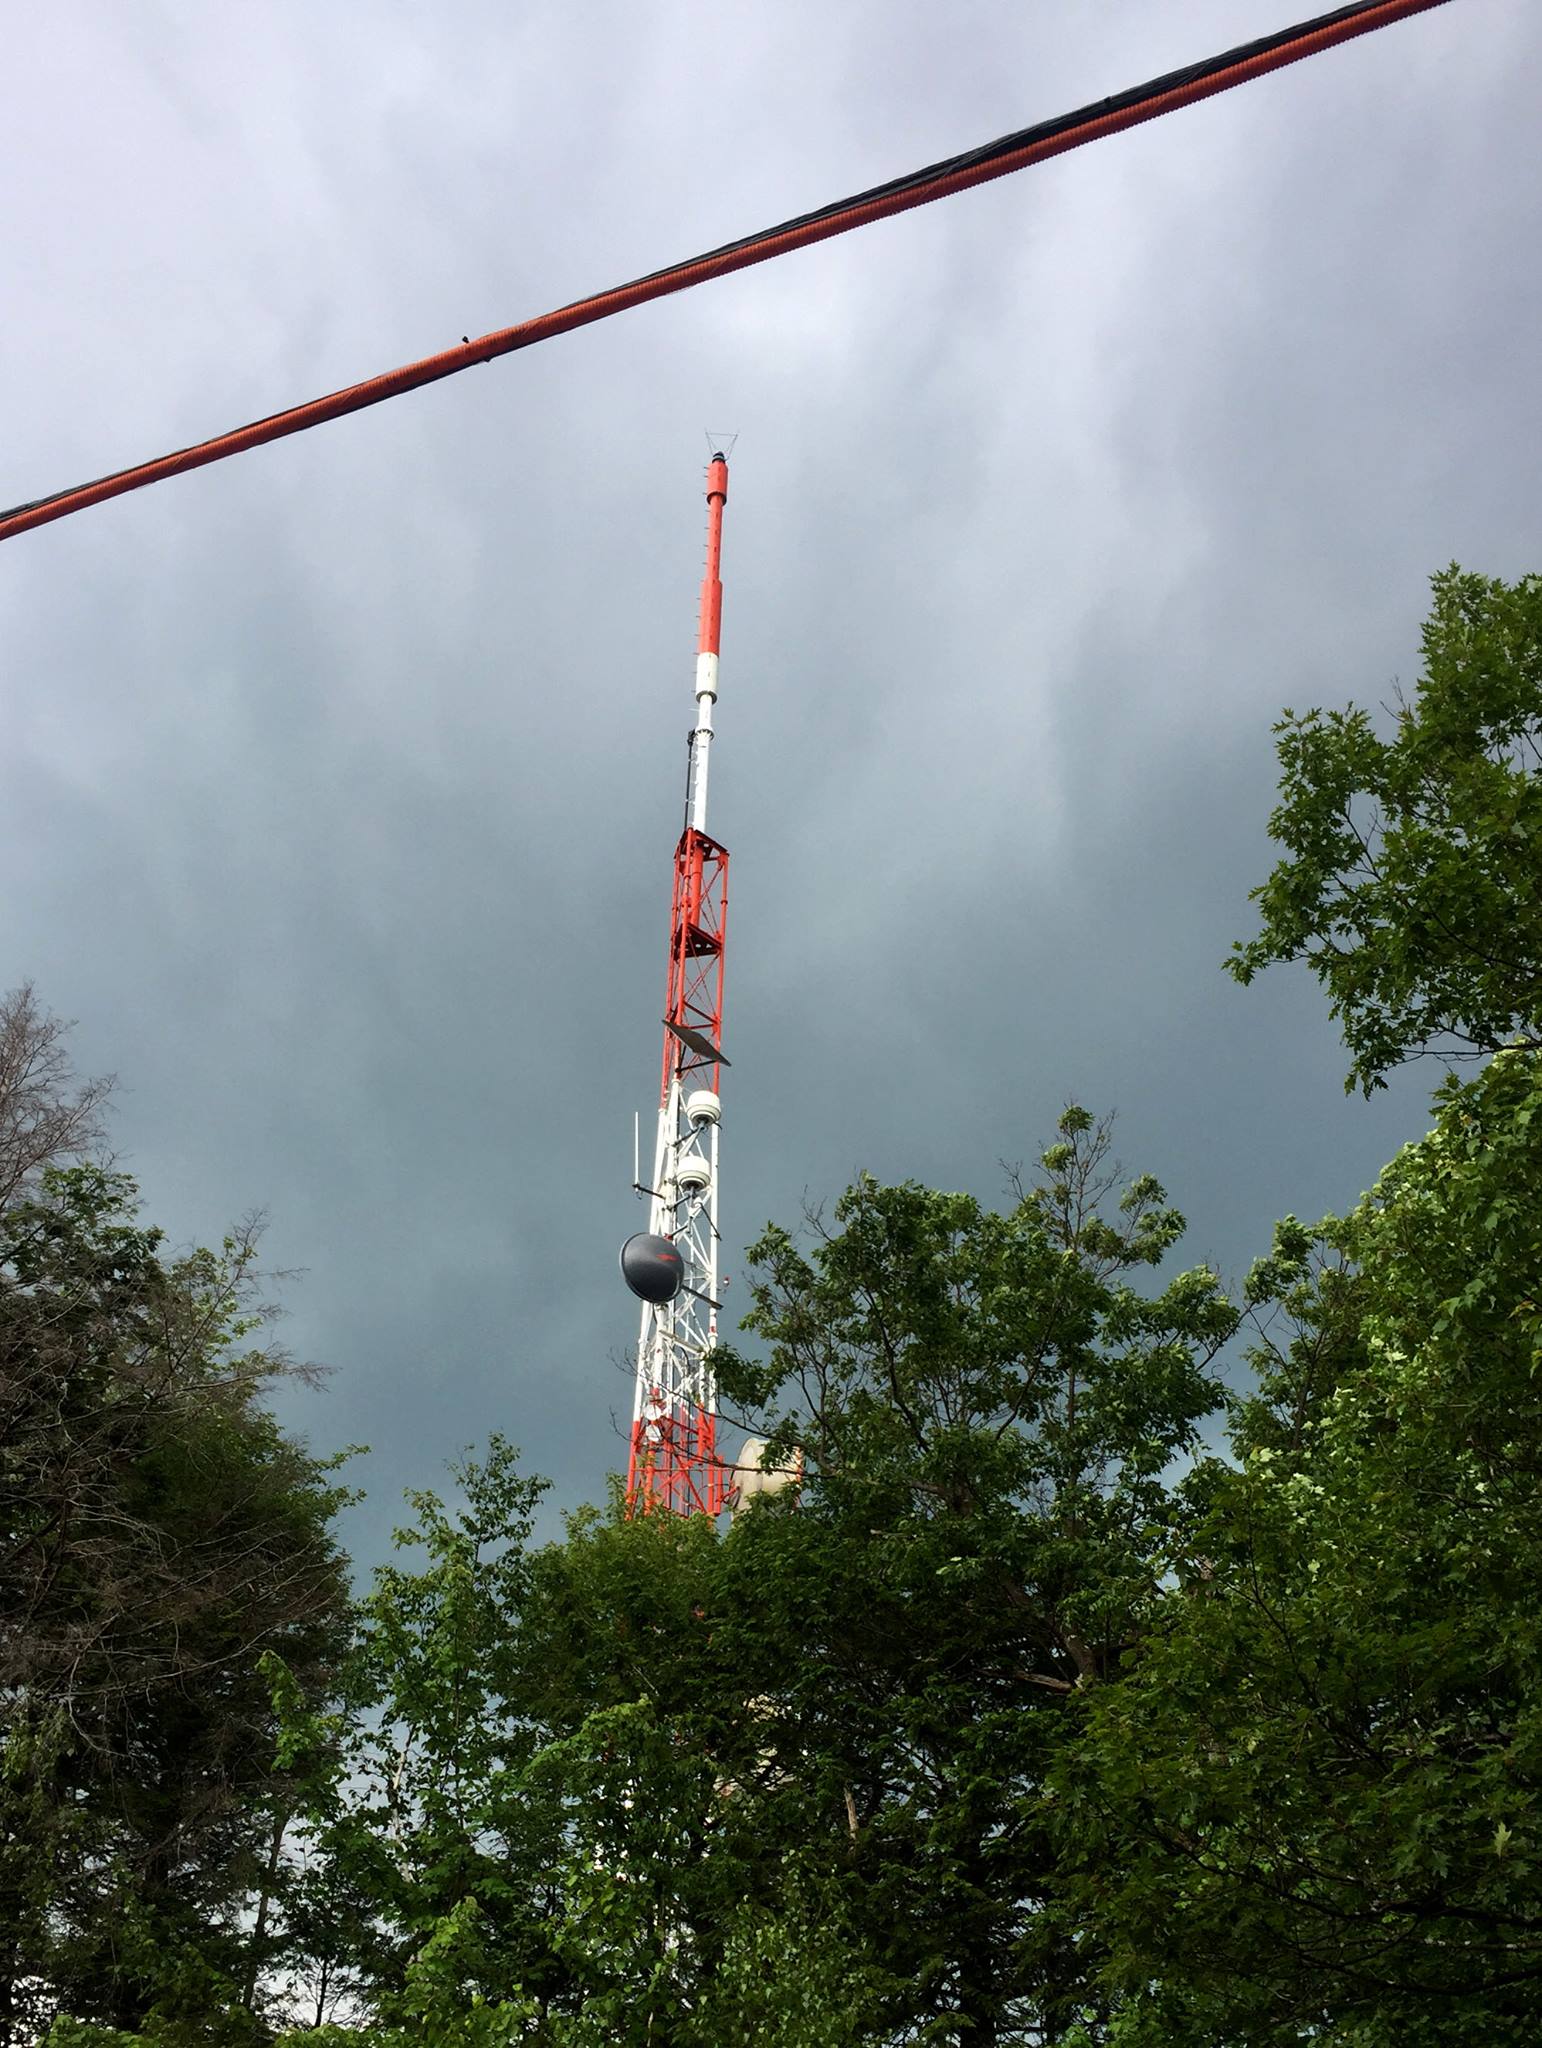
And finally, WGIR-FM, whose antenna we were almost looking into on some of the drone shots:
They are licensed for 11.5 kW at 101.1 MHz, but, like WZID, it seems this is maximum legal power based on their height.
There is also some ham stuff up there, including a few DMR repeaters through DMR-MARC, and a 220 MHz link for the N1IMO repeater. At one time there was a 6-meter repeater as well, but it seems to have faded from the Internet and I’m not sure it’s still around.


