A while ago, I read about the concept of micropropagation, a fast way of propagating/cloning plants. Since I learned years ago about how readily the jade plant can sprout from a single dropped leaf, I’ve always found the idea of propagating plants interesting. Micropropagation extends that idea, by growing in a sterile medium and using plant growth hormones to get things just right. While traditional propagation lets you take a cutting from a plant and get it to root, micropropagation allows you to take that cutting and induce the formation of many shoots, then moving each of them along to rooting. It’s a perfectly nerdy hobby for me.
I have an orchid whose blooms are fading, meaning it’s time to cut it back. I also have a hydrangea that I’ve failed thus far to root conventionally, though I think that’s more me lacking a green thumb than anything. So I decided to try this. Everything is in my pressure cooker now, so this is Part 0 of a series.
The Secret Sauce
Key to the process is the “media” the plants are grown in. It is traditionally solidified agar to keep pieces in place, with plant growth hormones and sugar to nourish the plant. You might also use, if you hadn’t forgotten to order it on Amazon, a cytokinenin to promote cell division, encouraging the growth of multiple shoots.
Based on what I’d read, I made a solution of the following:
- Murashige and Skoog medium (“M&S”), 4.3g/L per the bottle. This is the exact product I ordered. Note that it’s a powder, but is sold by the final volume, so the 10 Liter container, at 4.3g/L, must be approximately 43 grams of powder. However, I goofed up the math, and used close to double the desired amount. We’ll see how big of a mistake that was. Also a mistake, I think, is that I ordered the version without vitamins, this is the with-vitamins version.
- Sucrose, at 30g/L. I used table sugar. Well, I should have used table sugar, but I only had powdered sugar, which I naively assumed was the same. After mixing everything, I realized that powdered sugar is actually sucrose and tapioca, in an unknown blend, so I probably have too little sucrose, and random tapioca in the blend. I would make a horrible scientist.
- Agar, at 8g/L. I purchased this product.
- Water. I probably should have used purified/bottled water, but didn’t.
As you can see, I’m already off to a rocky start. But I’m doing so kind of knowingly, somewhat expecting failure my first try.
Procedure
Undaunted by my mis-measurement, use of a vitamin-less medium, and my decision to use powdered sugar to fulfill the “sucrose” requirement, I went about preparing the medium with similar regard for proper scientific precision.

This is the solution I mixed. I conducted this in the sterile lab environment of my dirty kitchen stovetop. Lacking a beaker, I used a mixing bowl. I also used a striped drinking straw as an innovative stirrer / pipette combination. The idea was to blend things in the appropriate concentrations, then place them in test tubes, then put them in an autoclave.
As cool as it would be to have an autoclave at home, I do not. I do, however, have a pressure cooker, and those are recommended as a suitable alternative here. As I understand it, the purpose here is twofold: to sterilize the medium, and to heat the agar in the medium to a temperature sufficient to get it to set.

I did try to do things right, and sterilized each test tube with bleach, then with rubbing alcohol. I then rinsed them, and used a pipette drinking straw to fill them with around an inch of the solution I mixed. To contain them in the pressure cooker, I used a drinking glass, partly filled with water.
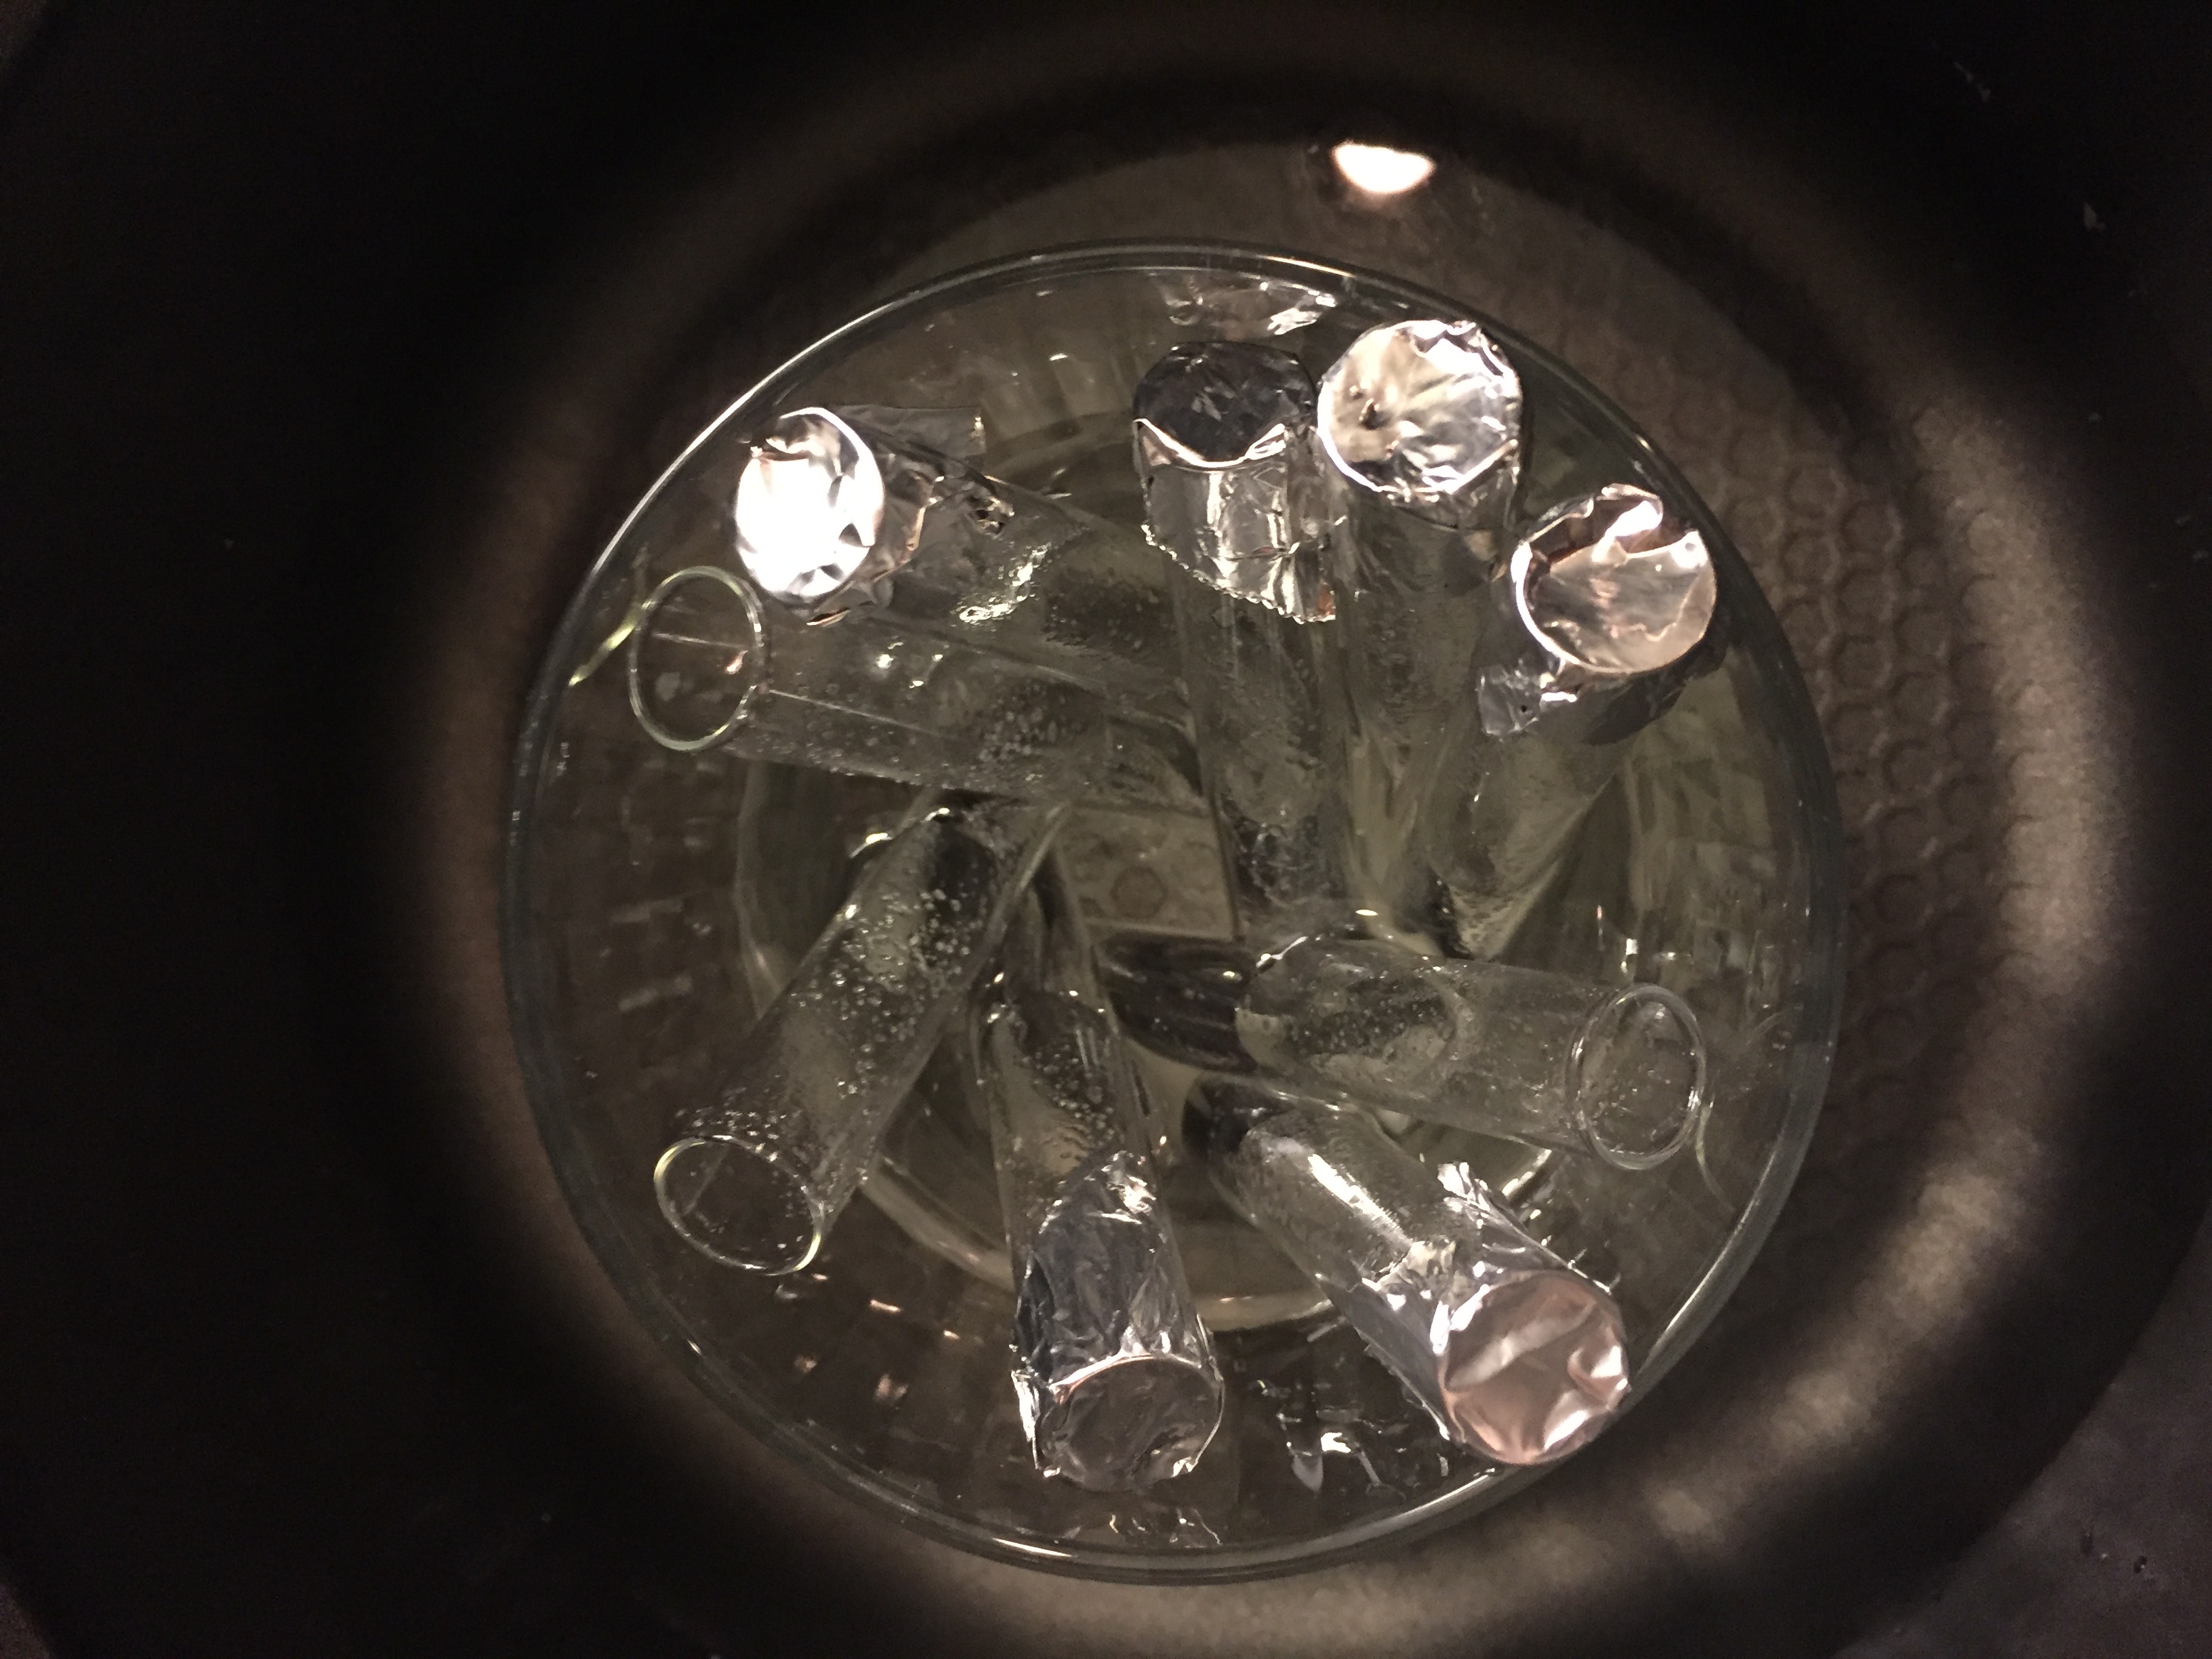
I covered about 2/3 of them with tinfoil, realizing that perhaps, when heated past the boiling point, the liquid might boil off. (The stoppers are plastic, and would have melted.) I left a few as a control to see how much evaporates. I had only made 4 ounces of solution, but it ended up being way too much for 9 (I broke one of the ten…) test tubes, so I filled a couple ramekins partway as well. Here’s what ended up going into the pressure cooker:

Everything is “cooking” now. In the meantime…
Explant preparation
The portion of the plant that’s cut off to be used in tissue culture / micropropagation is called an explant. Keeping things sterile is described as being very important, though I was quite lax in some of my preparation—partly out of lack of experience or proper equipment yet, and partly because I’m curious if things will work at all when done this way.
I tried to use roughly half-inch to 1-inch bits of the parent plant. Each was rinsed in water, soaked in a dilute bleach mix, rinsed, and then dipped in rubbing alcohol, before being rinsed again. The goal is to then move them into test tubes with sterilized tweezers, seating them in the gel.
I’ll try to post an update tomorrow about whether this ends in complete disaster or not. Assuming all goes well, it will probably be a while before anything starts to grow. The results will be anything between 3 orchids and 2 hydrangeas starting to grow, to nine test tubes that start to grow mold and fungus. Tune in next time!