I was pleasantly surprised by what my little 55-200mm Sigma can do! I’ve noticed that if you’re not exacting in aligning the polarizer, you lose a lot of contrast, BUT it’s very easily fixed in Photoshop. I’ve also noticed that, short of focus problems, most everything is easily fixed in Photoshop. (I’ve stopped thinking of the images out of the camera as the final product, really.)
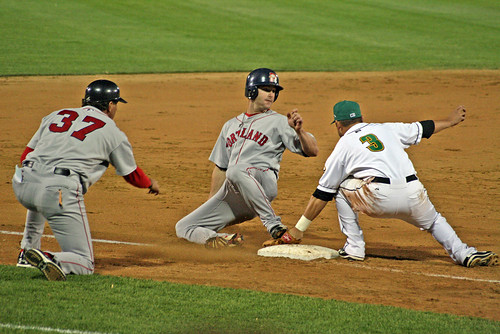
Shot at ISO 1600, with less noise than I’d expected, even after ‘lighting up’ the shadows a bit in Photoshop. There’s noise if you look for it at high resolutions, but I’d forgotten that 1600 can be quite usable.
As I mentioned at the top of the post, I’ve started doing a lot of post-processing in Photoshop. It’s something I hadn’t really been tuned into until I started doing a lot of photo enhancement, but a lot of images have a sort of ‘haze’ to them. (Shooting through a window, or shooting through a misaligned polarizer, will do this… But some cameras with crappy metering equipment do this on their own.) That’s easily fixed with Levels. Some images aren’t quite as tack-sharp as they should be, which can also be tweaked in Photoshop. Even the best cameras have imperfect dynamic ranges, leaving some details in darker areas obscured, and brighter portions overexposed (“blown out”). So my workflow (that’s a major buzzword right there) is to align images (rotate as needed, and adjust any that have sloping horizons), perform a Shadows & Highlights enhancement (CS2 and newer, I believe, have this feature, which is invaluable!), adjust Levels, and then apply an unsharp mask (I’ve been tending towards Smart Sharpen, 55% over a 1-pixel range, but it gets tweaked as needed.) Periodically I’ll play with Variations to get colors just right, and boost (or tone down, depending) an image’s saturation, but that’s only as-needed.

That’s straight out of the camera. Not necessarily a bad picture, though a bit underexposed for my liking. (I’d gotten a batch of slightly overexposed shots, so I set it to underexpose slightly, which ended up being a mistake.) But here it is after 60 seconds in Photoshop:
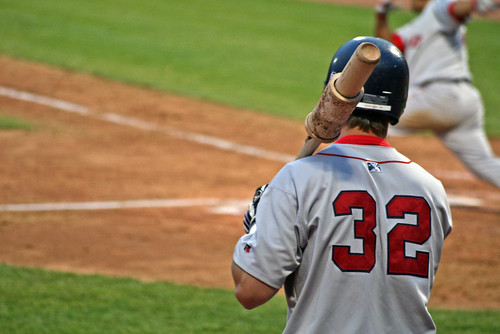
It’s a striking difference: the apparent ‘haze’ has been lifted: the image is brighter (properly exposed!) and sharper.
It’s really not a great shot, but I tried the obligatory HDR shot:
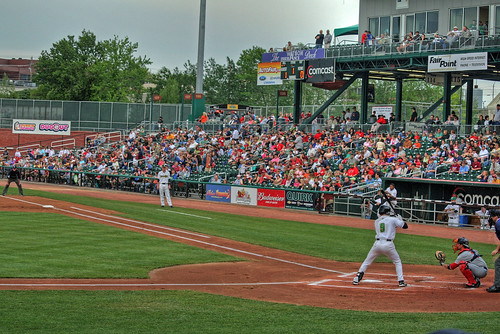
It’s an okay shot, but I think it’s a case where HDR really isn’t appropriate. It ends up being a very busy shot, and the very bright (very saturated!) colors in the crowd end up drawing attention away from the batter.
![]()
I’m also becoming a fan of panoramas. I’m glad Mr. T recommended Windows Live Photo Gallery or whatever it’s called; it’s worked pretty well. This ended up being a GIGANTIC photo (15297×1263 pixels, and that’s AFTER a very heavy crop, since my images didn’t line up that well, leaving huge black areas on the top and bottom). The downside is that there’s really no good way to view it; Flickr’s next size up (if you click through) is 1024×85 — 1024 pixels is a good width, but an image 85 pixels tall is practically useless. After that is the original, which I don’t recommend unless you have a fast connection and a lot of time to scroll around.
Anyway, it was fun… We left at the close of the 6th inning because it was getting late, but we (Manchester Fishercats) were losing 8 to 14. But I got some good pictures.